Create a Custom Calculator for your website [2025]
Welcome to Calconic, our innovative website calculator builder! This article shows you how to build your first interactive calculator step-by-step. We are going to build a rectangular volume calculator here.
You'll need an active Calconic account to start building your first interactive calculator. If you don't have one yet, don't hesitate to create one. It's absolutely free and on top of that for every new sign-up we offer access to all of our premium features for 14 days, so you can try all the Calconic features and familiarize yourself with our innovative calculator builder.
Step-by-step guide to building your first interactive calculator:
Add and customize calculator elements
- Login to your Calconic account. Or get your free account now!
- Click Create New on the left side menu.
- In order to create a custom interactive calculator click New From Blank.

- Click the Plus icon (Add New Element) on the right.

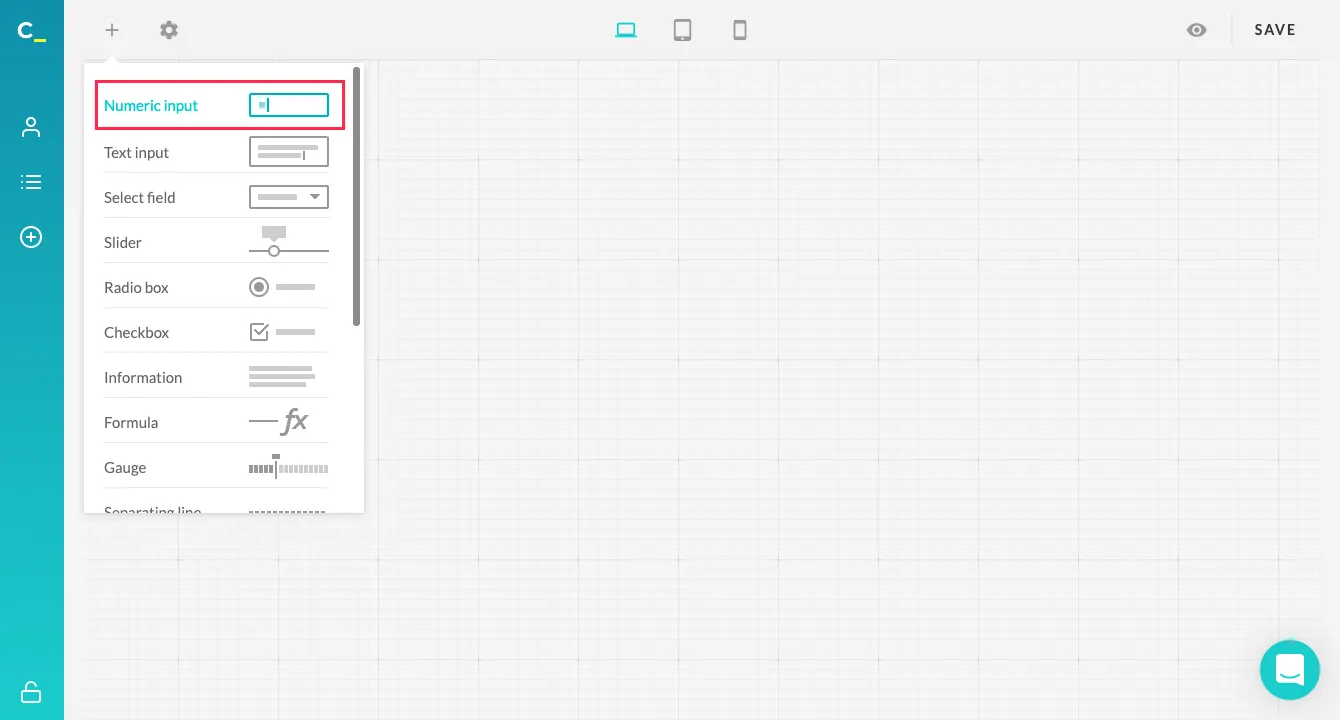
- Here you can see a list of different input field types and tools that can be added to your calculator widget. This time, let's choose Numeric Input Field.
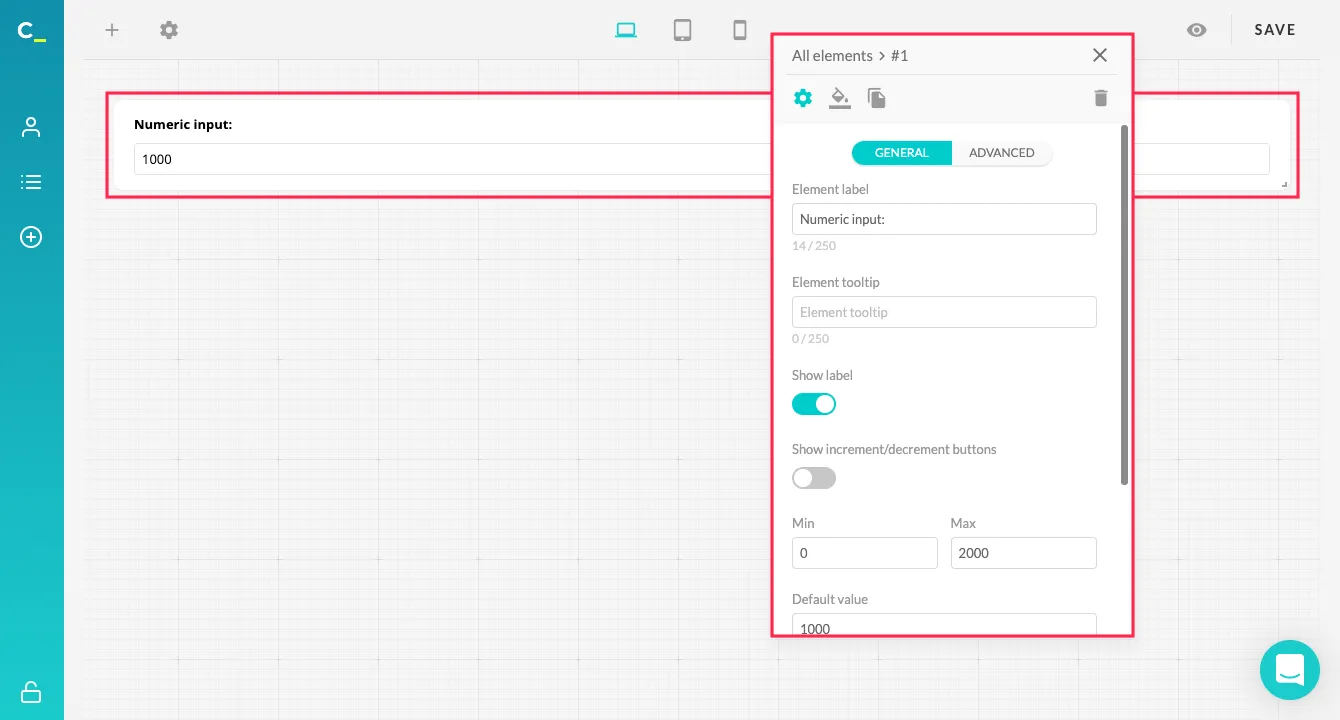
All the calculator element settings are available on the right side. To reach them, simply click on the element you want to configure.
-
You can change the label of a numeric input field by adding the preferred name to the input field below the Element label label. For example, this time let's add
Widthas the input field's name.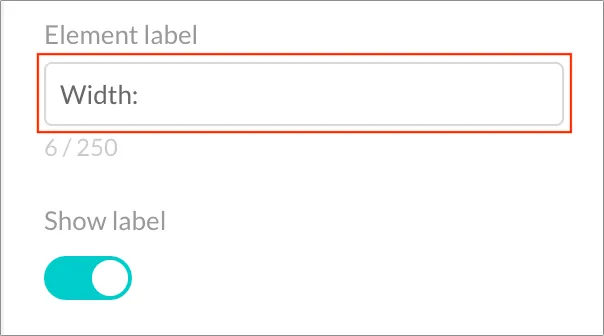
-
In the Min and Max input fields you can set the lowest and highest value that can be added to the input field by a user. If you don't want to have any limitations set, leave these input fields blank. While rectangular width can't be a negative and we don't want to have limit set on the highest value, let's add
0to the Min input field, and leave the Max input field blank.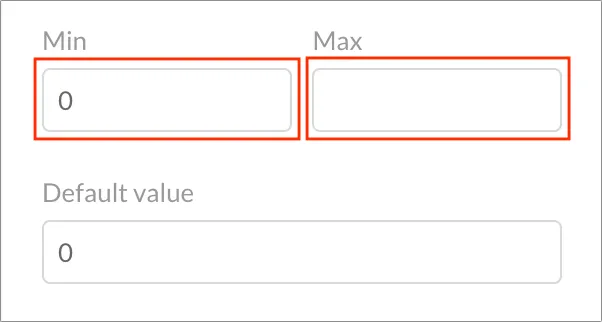
-
To explain to your visitors what kind of data you want them to enter, you can add a prefix or postfix to your input field. In our example we want visitors to enter measurement in feet, so let's add
feetto the input field below the Postfix label. -
When we are done with our first input field, let's add a second input field for rectangular length. Click the Plus icon (Add New Element) on the right and choose Numeric Input Field again.
-
Repeat steps 6, 7 and 8 to setup this input field. However, add
Lengthas the label of this input field instead ofWidth. -
To add a third input field for rectangular height, click the Plus icon and this time choose Slider. It's not a typical input field for a volume calculator, but we want to show you how different types of input fields can shape your interactive calculator.

-
Name the input field by adding
Heightto the input field below Element label.
-
Set your slider's range by adding Min and Max values. Please note that the slider's Min and Max input fields can't be blank! Add
0as the Min. value, and1000as the Max. value.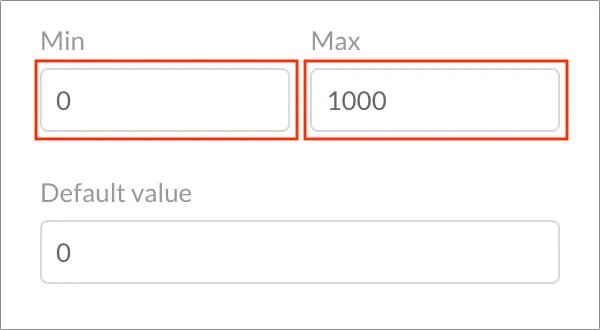
-
You can add points to your slider to make it easier to use and look better. All points are to be separated by comma. Let's add the following points to your slider -
0, 250, 500, 750, 1000.
-
Finish customizing the slider by adding a postfix. To do so, add
feetto the input field below the Postfixlabel.
Set Up Your Calculator Formula
-
Now, when you’re done with all needed input fields, let's add the element that outputs the results of your interactive calculator. To do that click the Plus icon (Add New Element) on the right and choose Formula.

-
Name your formula field by adding
Rectangular tank volumeto the Element label input field.
-
Add the following formula to the input field below the Formula editor label -
#1 * #2 * #3. How do we get this formula? Every single element of a calculator gets its own ID that consists of a hashtag and a unique number. As you can see, the ID of the Width input field is #1, and the ID of the slider is #3. The conventional formula for finding the volume of a rectangular prism is the following: Volume = Length * Height * Width. So we replace Length, Height and Width variables with the IDs of the web calculator elements. Click here to find more information on how to understand and write formulas for Calconic interactive calculators.
-
Finish customizing the formula element by adding a postfix. To do so, add 'sq. feet' to the input field below the Postfix label.

-
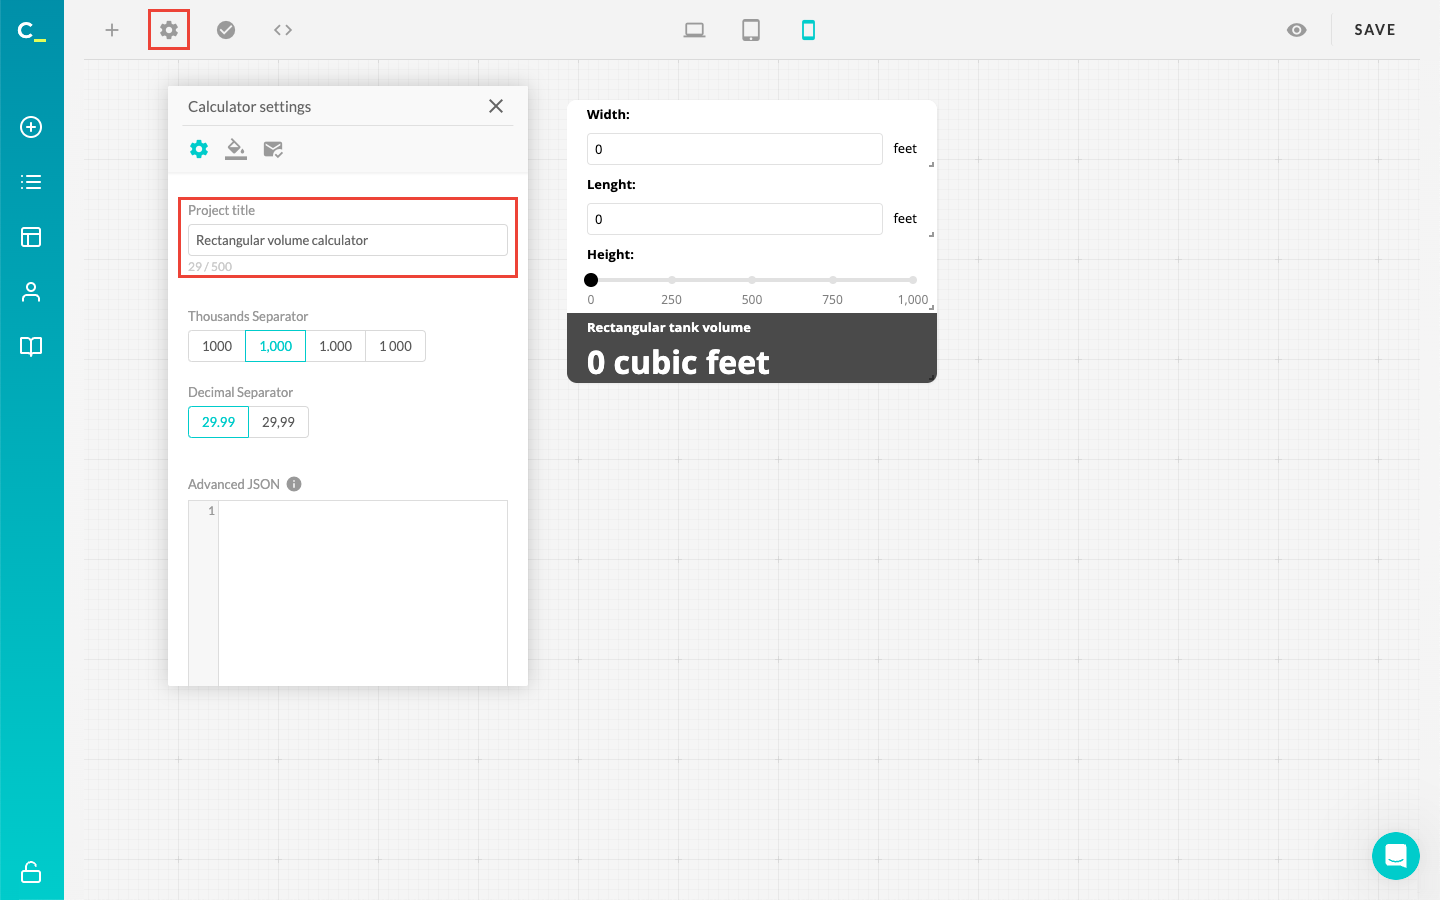
Click the Gear icon.
-
Add a preferred title to the input field below the Project Title label.
-
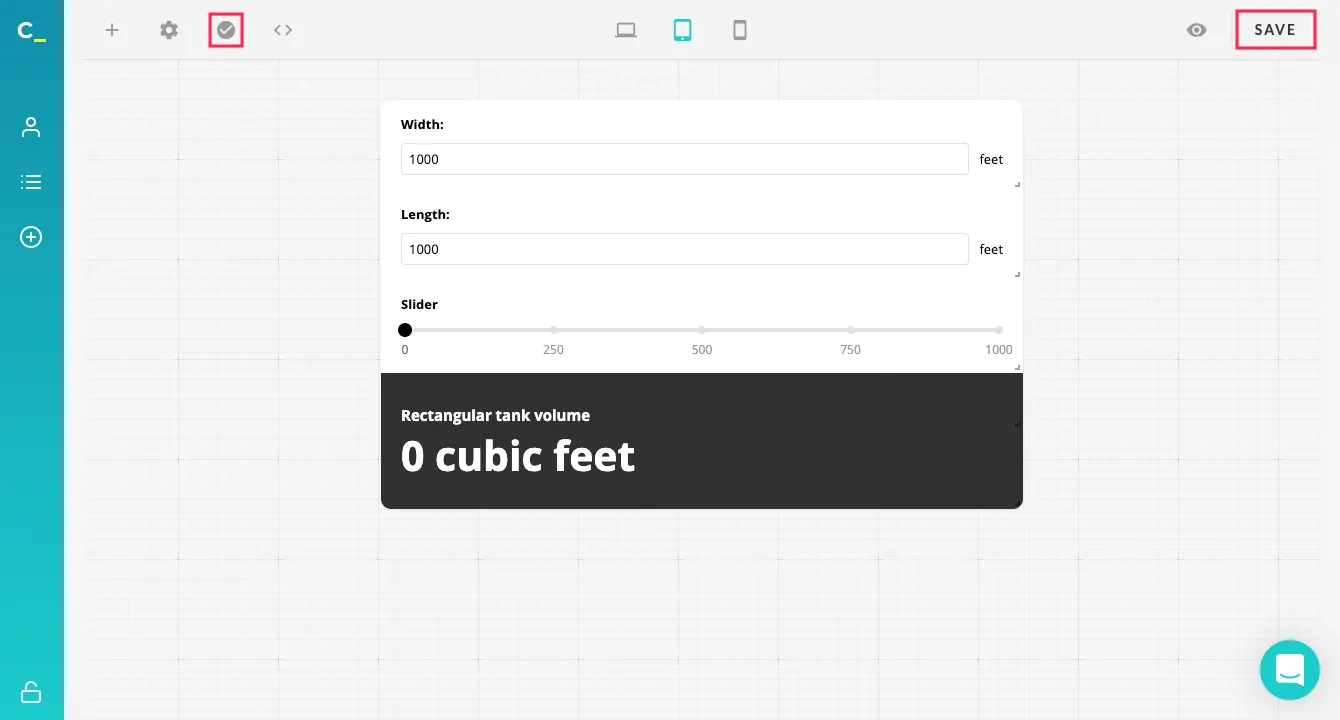
Click Save.
-
Click the Inactive icon next to the save button to activate your online calculator.
How to embed a calculator on your website?
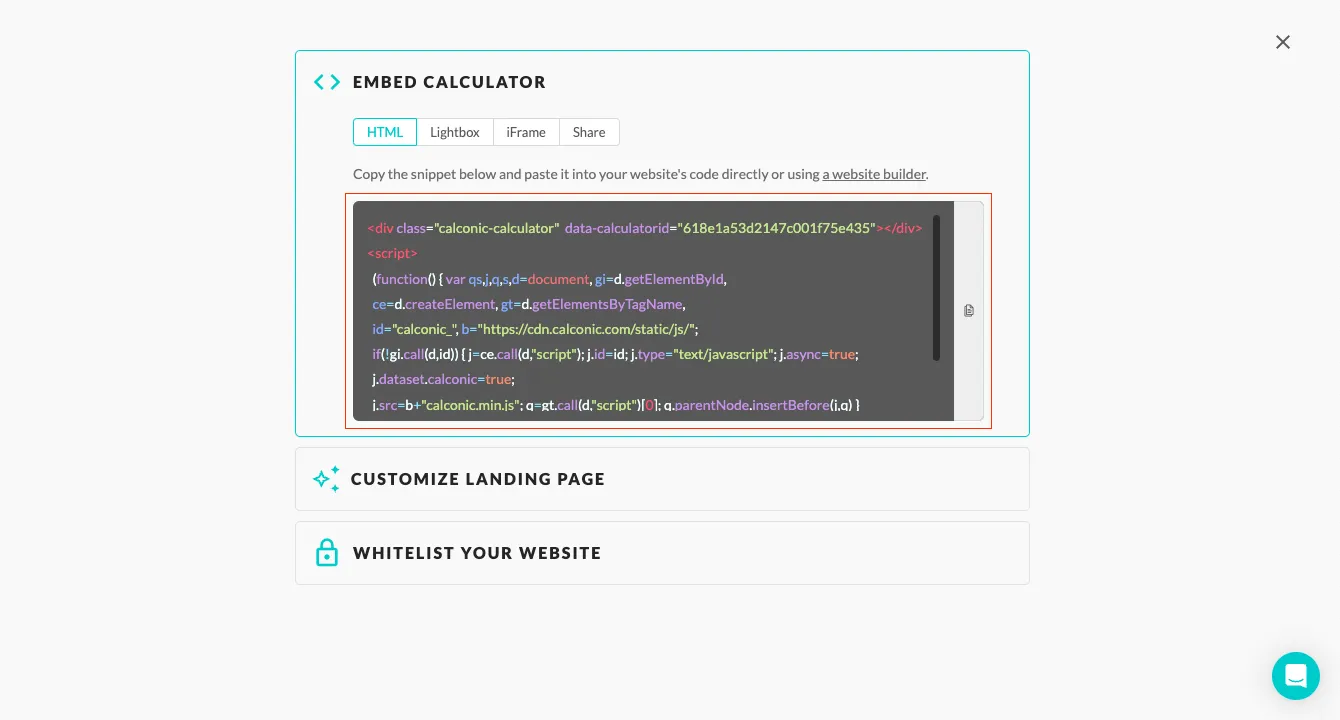
- Now your interactive calculator is ready to be added to your website. Click the Embed button to get the code snippet for embedding the calculator to your website.

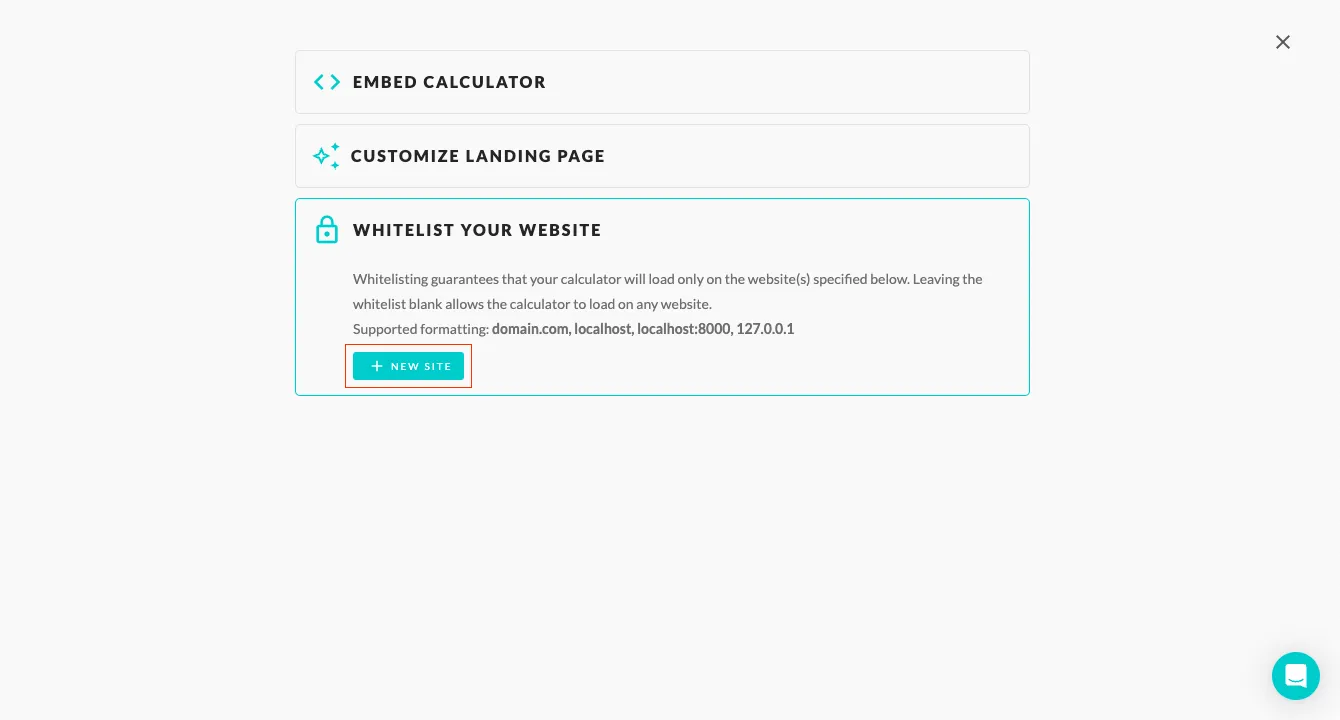
- Click Whitelist Your Website and + New Site to whitelist your website’s address. Any subdomains (for example, subdomain.example.com) are to be whitelisted separately.
- Click Embed Calculator.
- Copy your web calculator’s code snippet. Once you've copied the code snippet, the next step is to paste it in your page’s HTML source code. How you go about this will depend on the tools you use to edit your site. On our Knowledge base you can find a few tutorials on how to embed your interactive calculator to DIY systems like Squarespace, WIX, Weebly, Webflow, etc.
Need a hand building your first web calculator? Contact us via email support@calconic.com. Or you can use our no-code calculator templates library for your quick start! You can also recreate a calculator you have on excel or another page by following this guide.
Important Considerations and Practical Tips
Embarking on the journey of creating a custom interactive calculator for your website is an exciting venture that can enhance user engagement and provide valuable tools for your audience. However, before diving into the design and implementation process, there are a few essential considerations to keep in mind.
-
Choose the Right Platform: Select a no-code calculator builder that aligns with your needs. Look for a user-friendly interface, simple drag-and-drop customization, and ease of integration. Sometimes, no-code tools with endless feature libraries can add a lot of complexity and frustration to create the most simple calculators.
-
Clarity is key. Your calculator should serve a specific purpose, whether it's a mortgage calculator for a real estate site or a calorie counter for a fitness blog. Define your objective and build a calculator for that specific goal.
-
Prioritize user-friendliness. The interface should be intuitive, with clear labels and instructions. For that, we have created elements such as information tooltips, labels, etc. Avoid overcomplicating with too many features; sometimes, less is more. Also, remember that while aesthetics matter, functionality and accuracy are paramount.
-
Test! Conduct thorough testing to ensure that calculations are correct and that the interface is easy to navigate. Gather feedback from real users to identify areas for improvement.
-
Lastly, always take into account the mobile user experience. With a significant portion of web traffic coming from mobile devices, ensure your calculator is responsive and easy to use on smaller screens. By keeping these considerations in mind, you'll set a solid foundation for a calculator that not only looks great but adds genuine value to your website and its visitors.
General FAQ
What is an interactive calculator?
An interactive calculator is a widget that can be embedded into any web page. It allows your website visitors to input personal data and select from multiple choices to calculate the price of your service, ROI, or any other metrics based on your custom formula.
What are the benefits of using an interactive calculator on my website?
A web calculator allows potential customers to make informed decisions and ultimately facilitate their shift from a shopping cart to checkout. In other words, a web calculator helps to make pricing easy and transparent, automate your work, collect potential sales leads and increase customer engagement.
Can I create an interactive calculator for free?
Yes. CALCONIC_ offers a free plan for all Calculator Builder users. No credit card required.
What are the examples of a web calculator?
Top 5 most used web calculators are Pricing Calculators, ROI Calculators, Loan Calculators, Mortgage Calculators, Saving Calculators. With CALCONIC_ Calculator Builder you can create almost any custom calculator that fits your needs.
